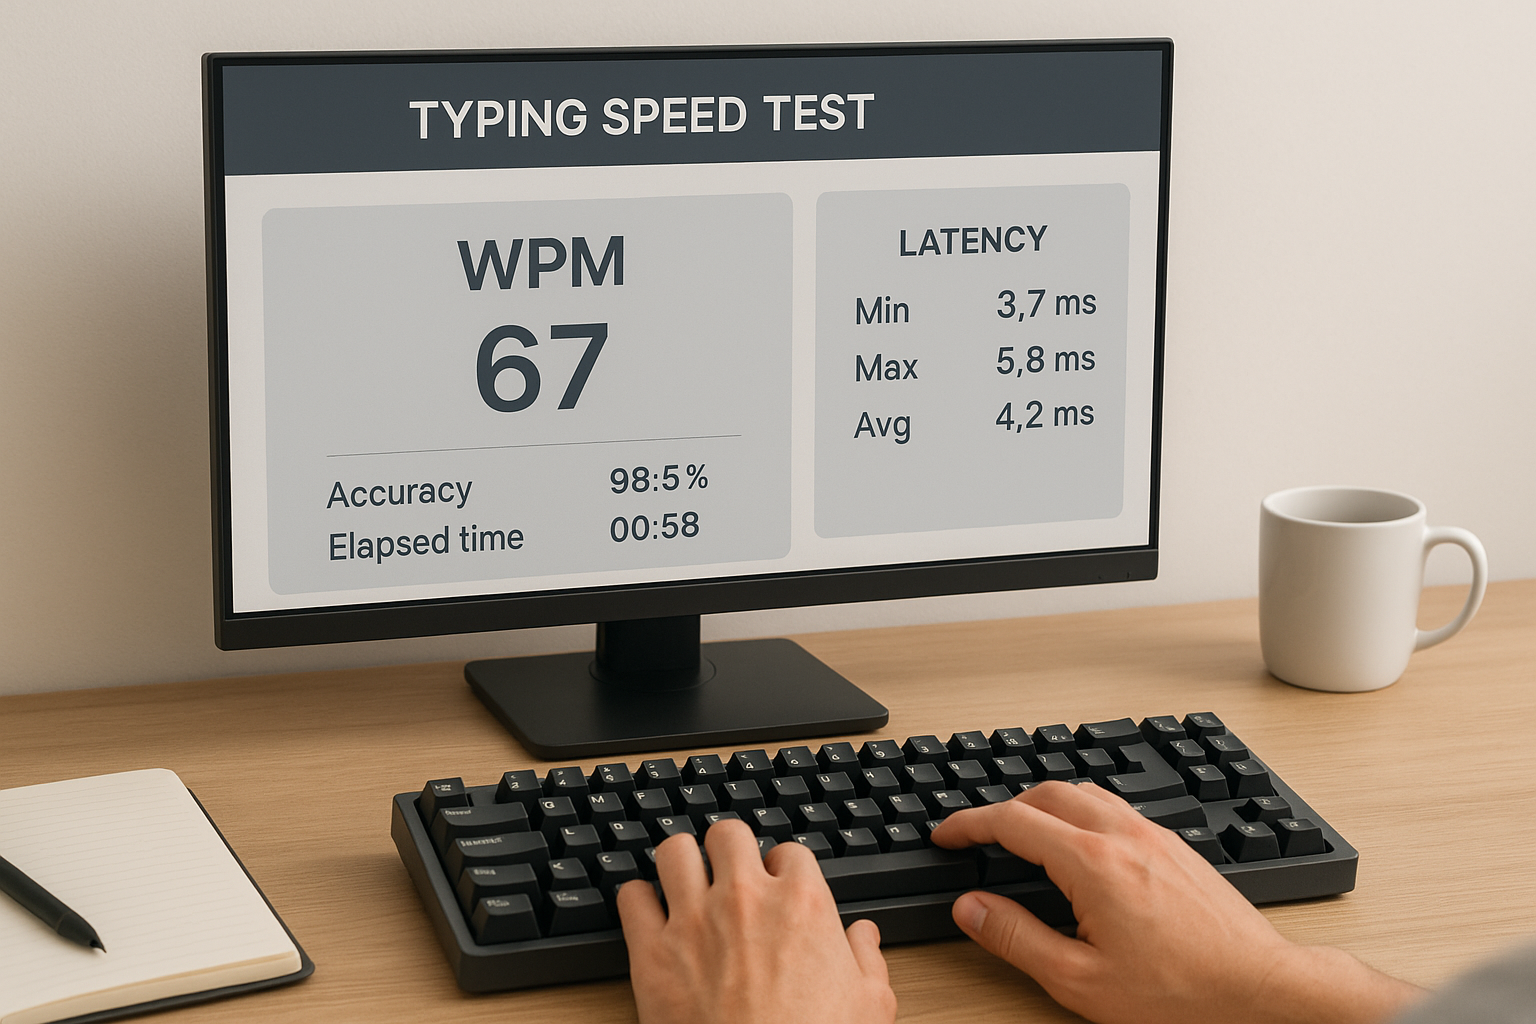
A keyboard speed test can show whether your typing bottleneck is skill, hardware latency, or settings friction. The practical method is to keep one stable test protocol, change one latency setting at a time, and decide with effective WPM, error density, and late run stability instead of peak burst score. This lets you tune for real output, not benchmark noise.
If you need a clean baseline first, start with Type Speed Test Baseline Routine: Measure Real Progress Before You Train. If your scores swing across test formats, pair this guide with Typing Test WPM: Normalize Scores Across Duration and Difficulty. If your finish pace collapses under pressure, add Timed Typing Test Pacing Strategy: How to Hold Speed Without Accuracy Collapse.
# Why keyboard settings can change speed test results
Most people assume keyboard speed is only finger speed. In practice, your result comes from a loop: visual parse, motor execution, keyboard registration, correction behavior, and pacing control. Hardware and OS settings can add enough delay or inconsistency to affect that loop.
Three settings matter most:
- Polling rate, which sets how often the keyboard reports key states to the system.
- Debounce time, which filters switch chatter and determines how quickly repeated presses can register.
- Repeat delay and repeat rate, which affect hold behavior and navigation corrections in real tasks.
If these are poorly tuned, you can type fast but still lose time in missed strokes, correction chains, or uneven rhythm.
For input latency concepts, use the QMK docs (opens new window) and RTINGS keyboard latency methodology (opens new window). For workstation controls that affect repeatable testing, use OSHA workstation guidance (opens new window).
# The metrics that reveal true gains
Do not evaluate settings by best run. Compare medians and error behavior.
Track these for each settings profile:
- Median WPM across at least six 60 second runs.
- Accuracy percent.
- Corrected errors per 100 words.
- First 15 seconds versus last 15 seconds pace.
- Transfer ratio in a real writing block.
Useful formulas:
effective_wpm = median_wpm * (accuracy / 100)
error_density = corrected_errors / words_typed * 100
transfer_ratio = real_task_wpm / median_test_wpm
Settings are worth keeping when effective WPM rises or stays stable while error density and late run drop improve.
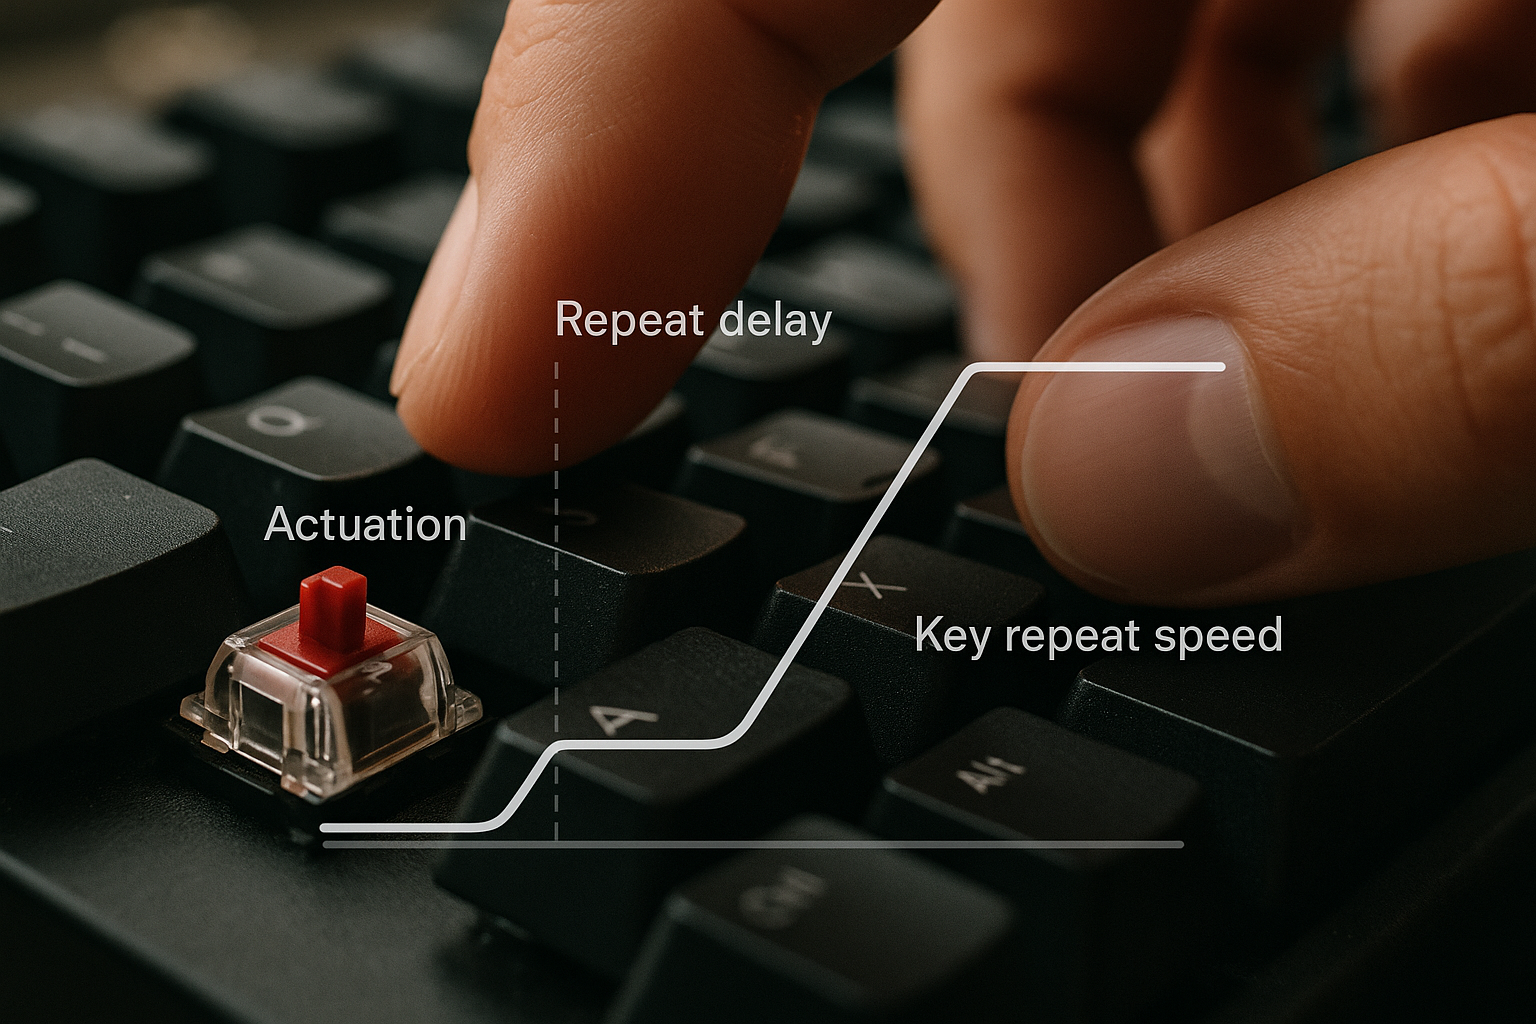
# What each setting really does in a keyboard speed test
# Polling rate
Polling rate controls report frequency from keyboard to host. Typical values are 125 Hz, 250 Hz, 500 Hz, and 1000 Hz.
What changes as polling increases:
- Lower average input report interval.
- Better consistency for rapid alternation patterns.
- Less timing jitter in quick trigrams and punctuation transitions.
What does not automatically change:
- Finger skill.
- Text parsing ability.
- Pacing discipline.
For many typists, jumping from 125 Hz to 1000 Hz improves consistency more than raw top speed. Gains often appear as fewer dropped bursts and cleaner finish segments.
# Debounce time
Debounce protects against key bounce noise. If set too high, it delays legitimate rapid presses. If set too low, it can allow chatter and false repeats on some switches.
Practical effect in tests:
- High debounce can blunt double letter sequences and rapid corrections.
- Low debounce can inflate error events if switches are noisy or worn.
The best value is not universal. It depends on switch type, keyboard firmware quality, and typing style.
# Repeat delay and repeat rate
Repeat settings matter less in clean typing tests than in real writing, editing, and coding.
Where they matter:
- Cursor movement and cleanup during correction loops.
- Holding backspace through an incorrect token.
- Navigating line level edits in code or structured text.
A very short delay can create accidental over delete behavior. A very long delay makes corrections feel sticky and increases interruption cost. Tune for controlled correction speed, not maximum repeat aggressiveness.

# Decision table: pick a profile by failure pattern
| Test pattern | Likely settings issue | Recommended change | Re-test rule |
|---|---|---|---|
| Strong early pace, random dropped letters | low report consistency | raise polling rate to 500 Hz or 1000 Hz | 2 sessions before final decision |
| Clean pace, frequent misses on fast doubles | debounce too high | lower debounce in small steps | keep same passages for 3 days |
| Unexpected duplicate characters on calm pace | debounce too low or switch chatter | raise debounce one step | validate on mixed text and punctuation |
| Timed score looks fine, editing feels slow | repeat delay too long | shorten repeat delay moderately | test in 10 minute writing block |
| Over delete and correction overshoot | repeat delay too short or repeat too fast | lengthen delay slightly | verify with error recovery drills |
This table keeps tuning grounded in observable behavior.
# A 10 day protocol that isolates settings impact
Treat this as a mini experiment.
# Days 1 to 2: baseline
- Keep current settings.
- Run six 60 second tests each day.
- Log all core metrics.
- Run one 10 minute real writing block for transfer ratio.
# Days 3 to 5: polling rate test
- Change polling rate only.
- Keep debounce and repeat settings fixed.
- Run the same test durations and warmup routine.
- Compare median and spread.
# Days 6 to 8: debounce test
- Keep chosen polling rate.
- Test two nearby debounce values.
- Use identical text difficulty when possible.
- Track duplicate and missed letter events separately.
# Days 9 to 10: repeat tuning in transfer tasks
- Keep timed test protocol unchanged.
- Tune repeat delay and repeat rate during real editing blocks.
- Confirm correction speed without overshoot.
At the end, keep the profile that best balances effective WPM, low error density, and stable transfer ratio.
# Practical checklist before you change anything
- Use one keyboard for the whole test window.
- Keep layout and keymap fixed.
- Keep test durations fixed at 60 and 120 seconds.
- Train in similar time windows each day.
- Keep posture and monitor distance stable.
- Record sleep and fatigue in a simple 1 to 5 scale.
- Change one variable per test block.
- Use medians, not personal records, for decisions.
Most failed tuning attempts change too many variables at once.
# Worked example: profile tuning from unstable 76 to stable 80
Starting profile:
- Median WPM: 76.2
- Accuracy: 95.9 percent
- Error density: 4.8 per 100 words
- Last segment drop: 7.1 WPM
- Transfer ratio: 0.86
Observed issue:
- Missed doubles under speed pressure.
- Inconsistent pacing in the final 15 seconds.
Intervention:
- Raise polling rate from 125 Hz to 1000 Hz.
- Reduce debounce by one small step.
- Keep repeat delay unchanged until transfer block.
Result after 8 days:
- Median WPM: 79.4
- Accuracy: 96.8 percent
- Error density: 3.9 per 100 words
- Last segment drop: 3.8 WPM
- Transfer ratio: 0.91
Final repeat tuning:
- Shortened repeat delay slightly to improve editing flow.
- No change to timed test scores.
- Writing throughput improved through faster correction cycles.
This pattern is common. Most gains came from consistency and correction cost reduction, not raw top speed.
# Common mistakes in keyboard speed test tuning
# Chasing one huge setting jump
Large changes create confusing results. Use small steps and short blocks.
# Using different passages every day
Difficulty drift can hide or fake gains. Keep one benchmark class stable.
# Judging by best run only
Best run reflects variance and luck. Median plus spread reflects repeatable skill.
# Ignoring transfer tasks
A profile that wins in a clean test may lose in writing or coding if correction behavior gets worse.
# Retuning while fatigued
Late night tuning can bias settings toward short term comfort. Confirm decisions in normal energy windows.
# How to implement this in TypeTest without overcomplication
Use two saved profiles:
- Profile A for benchmark tests with fixed latency settings.
- Profile B for active tuning trials.
Run Profile A daily for trend continuity. Use Profile B in short controlled windows. Promote only one B change per week into A. This keeps your long term data clean.
For follow up work, connect this guide with Keyboard Speed Test Split Analysis: Find Left vs Right Hand Bottlenecks, Typing Accuracy Test Thresholds: The Fastest Way to Raise Usable WPM, and WPM Test Typing Session Design: Build Scores That Transfer to Real Work.
# FAQ
# Is 1000 Hz always better for typing?
Not always. It often improves consistency, but outcome depends on keyboard firmware quality and system behavior.
# Should I set debounce to the minimum possible value?
Only if your board remains clean with no chatter. The right value is the lowest stable value for your hardware.
# Do repeat settings matter for typing tests?
They matter more for transfer tasks than clean test runs. Tune them using editing blocks, then verify they do not degrade accuracy.
# How long should I test before deciding?
Use at least one week for a meaningful decision and preserve a stable protocol.
# Final takeaway
A keyboard speed test is most useful when you treat settings as measurable inputs instead of assumptions. Tune polling, debounce, and repeat behavior in controlled steps, then decide with effective WPM, error density, and transfer ratio. The best profile is the one that stays stable across benchmark runs and real writing sessions.