

# Best Debounce Time for Keyboard: Test Chatter Without Slowing WPM
The best debounce time for keyboard typing is the lowest setting that stops double letters without creating missed keys, delayed corrections, or a lower median WPM. For many configurable mechanical keyboards, start around 5 ms, test one step lower and one step higher, then keep the setting that gives clean text across three matched typing runs. If chatter appears, raise debounce. If the board feels sluggish and accuracy stays clean, lower it carefully.
# What keyboard debounce means
Keyboard debounce is the short delay a keyboard uses to decide whether a switch press is real. Mechanical switches do not always close perfectly once. They can bounce for a few milliseconds, which can look like several presses when firmware reads the matrix.
Debounce filters that noise. Too little filtering can create chatter, such as lettter, thhe, or a space that appears twice. Too much filtering can make rapid repeats and corrections feel late. The goal is clean input, not the smallest number your firmware menu allows.
Firmware projects describe this as a timing policy. The QMK debounce documentation (opens new window) explains debounce algorithms and timing options. VIA also documents how configurable QMK boards expose settings through VIA keyboard configuration (opens new window). Those pages are useful if your board supports firmware changes, but a typing test still has to answer the human question: does this setting improve real text?
Use TypeTest as the practical layer. Run a normal typing test first, then compare the same style of run after a single debounce change.
# When debounce deserves your attention
Most typing problems do not come from debounce. Practice, posture, passage difficulty, and correction habits usually explain more. Debounce deserves attention when errors have a physical pattern.
Look for these signs:
- One letter repeats even when you press it once.
- Double spaces appear during normal typing.
- Errors cluster on specific keys.
- The problem gets worse when you type faster.
- A keyboard tester shows extra presses on release or press.
- The issue happens outside TypeTest too.
If errors spread evenly across words, start with the keyboard speed test setup diagnostic. If a few keys repeat like tiny gremlins with a union contract, debounce is worth testing.
Run a hardware check before you change firmware. The keyboard test IO guide covers ghosting, rollover, and key registration checks. Debounce cannot fix a matrix conflict. It can only filter switch bounce.
# Use a debounce ladder instead of guessing
A debounce ladder tests a few timing values in a fixed order. You keep the typing task stable and change only the debounce setting. That prevents the common mistake of changing firmware, desk angle, and practice text at the same time.
Use this ladder when your keyboard software lets you change debounce:
| Debounce setting | What to test | Keep it when | Reject it when |
|---|---|---|---|
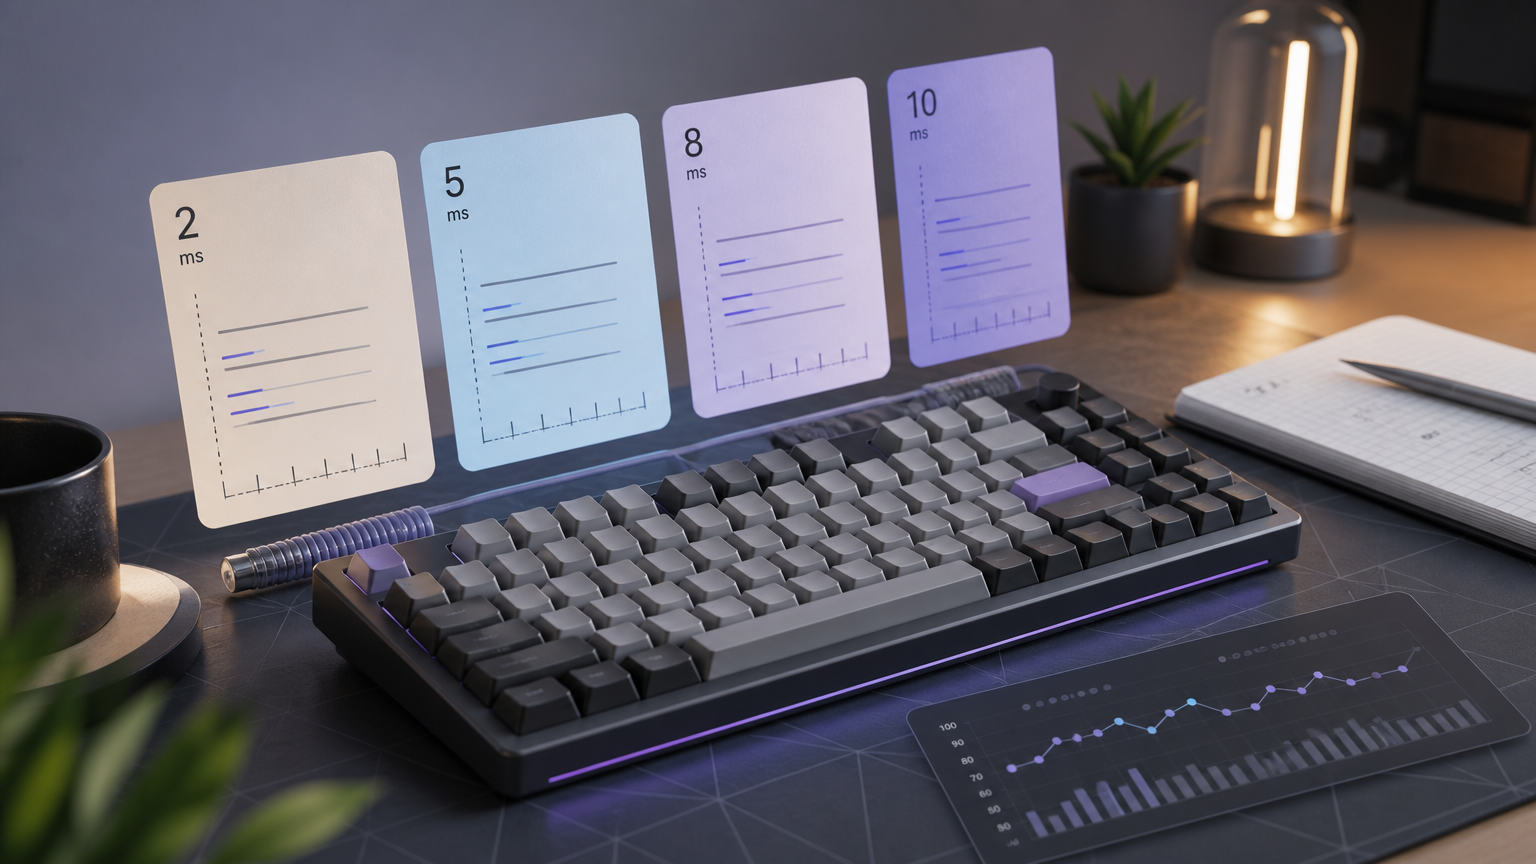
| 2 ms or lowest available | Fast repeats and common double-letter words | No chatter appears and corrections feel immediate | Any single-press key creates double input |
| 5 ms | Baseline for many configurable boards | Text stays clean and WPM matches normal baseline | Chatter remains on known problem keys |
| 8 to 10 ms | Chatter control round | Repeated letters stop without missed presses | Rapid corrections feel late or WPM drops |
| 12 ms or higher | Problem isolation only | It confirms switch bounce as the issue | It becomes your permanent default without a reason |
Do not treat this table as a universal law. Switches, firmware, scan behavior, and typing style differ. The useful result is your cleanest setting under your normal typing pace.
The RTINGS keyboard latency tests (opens new window) show why timing can vary across boards and connection modes. A gaming keyboard, office keyboard, laptop keyboard, and custom firmware board can behave differently even when they all type the same sentence.
# The 15 minute debounce test protocol
Use this protocol after you confirm that the keyboard allows debounce changes. If it does not, skip to the troubleshooting section.
- Open a simple note app and press each problem key 20 times slowly.
- Write down any double input or missed input.
- Run three one minute TypeTest rounds with your current debounce setting.
- Record median WPM, median accuracy, corrected errors, uncorrected errors, and repeated letters.
- Lower debounce one step if there is no chatter.
- Raise debounce one step if chatter appears.
- Run three more one minute rounds with the same test length and similar passage difficulty.
- Keep the setting only if text stays clean and median WPM does not fall by more than 2 percent.
Use median WPM because a single best run rewards luck. Median WPM shows whether the setting survives ordinary typing. If your current median is 72 WPM, a result between about 70.5 and 73.5 WPM probably sits inside normal variation. A drop to 66 WPM with the same accuracy tells you the setting changed the feel enough to matter.
If you already keep a score history, add debounce as a setup column in your WPM tracker. Without that label, future scores become hard to compare.
# How to read chatter, missed keys, and correction cost
A debounce test should track more than WPM. Chatter can inflate errors. High debounce can hide errors until you type quickly. Correction cost shows up when your fingers press backspace before the keyboard feels ready.
Use these labels in your notes:
- Chatter: one press creates two or more characters.
- Missed key: a normal press creates no character.
- Late correction: backspace or a replacement letter lands later than expected.
- Repeat friction: intentional repeated letters, such as
letterorcoffee, feel hard to control. - Clean run: no repeated input, no missed keys, and normal correction timing.
Then compare the error pattern with the setting. If chatter falls as debounce rises, you found a real switch bounce problem. If WPM falls while errors stay flat, the setting may be too conservative for your typing rhythm. If nothing changes, debounce was probably a bystander wearing a lab coat.
# Best debounce time by situation
Start with the situation, then pick the test range.
| Situation | Starting setting | Test direction | Practical decision |
|---|---|---|---|
| New custom keyboard with no obvious errors | 5 ms | Test 2 ms and 8 ms | Keep the lowest clean setting |
| One key repeats letters | Current setting | Raise one step | If only one switch fails, inspect or replace the switch |
| Many keys chatter | 8 to 10 ms | Raise until clean | Check firmware, cable, and board condition too |
| Board feels delayed but clean | Current setting | Lower one step | Keep lower value only if chatter stays absent |
| Wireless board varies by day | Current setting | Test wired before firmware changes | Separate connection issues from switch behavior |
This is also where keyboard age matters. A single worn switch can make one key chatter while the rest of the board behaves. Raising debounce for every key may reduce the symptom, but replacing or cleaning the problem switch can be the cleaner fix. For hardware level faults, compare with the keyboard ghosting test guide so you do not blame firmware for a physical limit.
# Avoid debounce changes that corrupt your typing benchmark
A typing benchmark needs stable conditions. If you tune debounce during the same week you change keyboard angle, switch type, and test duration, the score cannot tell you which change helped.
Use these rules:
- Change debounce on a separate day from hardware changes.
- Keep the same test length for every round.
- Compare median WPM, not best WPM.
- Keep accuracy within 1 percentage point when judging speed.
- Label the debounce setting in your score log.
- Revert any setting that creates double letters in normal writing.
The USB HID usage tables (opens new window) describe the reporting layer keyboards use to identify keys to the host. Debounce sits before that in the device behavior. Your operating system only sees the result. That is why a browser typing test can reveal the symptom, while firmware settings usually control the filter.
# What if your keyboard has no debounce setting?
Many keyboards hide debounce inside firmware. Laptop keyboards and ordinary office boards usually give you no direct control. You can still test the problem.
Do this instead:
- Test the same key in a plain text editor.
- Try a different USB port or cable if the board is wired.
- Test wired mode if the board supports both wired and wireless.
- Remove custom macros or rapid-fire features.
- Clean the problem switch area if the board design allows it.
- Compare the same TypeTest run on another keyboard.
If the error follows one keyboard, the board deserves attention. If the error follows your hands to every keyboard, debounce is not the main cause. Return to accuracy practice and passage control.
For a broader baseline, the typing speed test passage difficulty guide helps separate text difficulty from setup behavior.
# A simple debounce checklist
Use this checklist before you keep a new setting:
- I changed only debounce, not layout, desk setup, or test length.
- I tested at least three one minute rounds before and after the change.
- I checked problem keys slowly in a text editor.
- I recorded repeated letters and missed keys separately.
- Median WPM stayed within 2 percent or improved.
- Accuracy stayed within 1 percentage point.
- Normal writing felt clean after the test.
- I can name the exact setting I kept.
If you cannot check those boxes, keep the old setting until you have cleaner evidence. Firmware menus invite confident fiddling. Typing data provides adult supervision.
# The simple takeaway
The best debounce time for keyboard typing is the lowest setting that prevents chatter in normal writing and matched TypeTest runs. Start near 5 ms when your firmware allows it, test one step lower and one step higher, and record median WPM, accuracy, repeated letters, and missed keys.
Raise debounce when single presses create double input. Lower it only when the board is clean and feels delayed. Keep the setting that makes ordinary text reliable, then return to regular practice with one less hardware variable quietly meddling with your score.