

# How to Type Quietly Without Losing Speed
Learning how to type quietly starts with force control, not a new keyboard. Use lighter key presses, soften desk contact, stabilize the board, and measure whether your WPM or accuracy changes. A quieter setup should reduce harsh bottom-out noise while keeping your hands relaxed and your typing score stable.
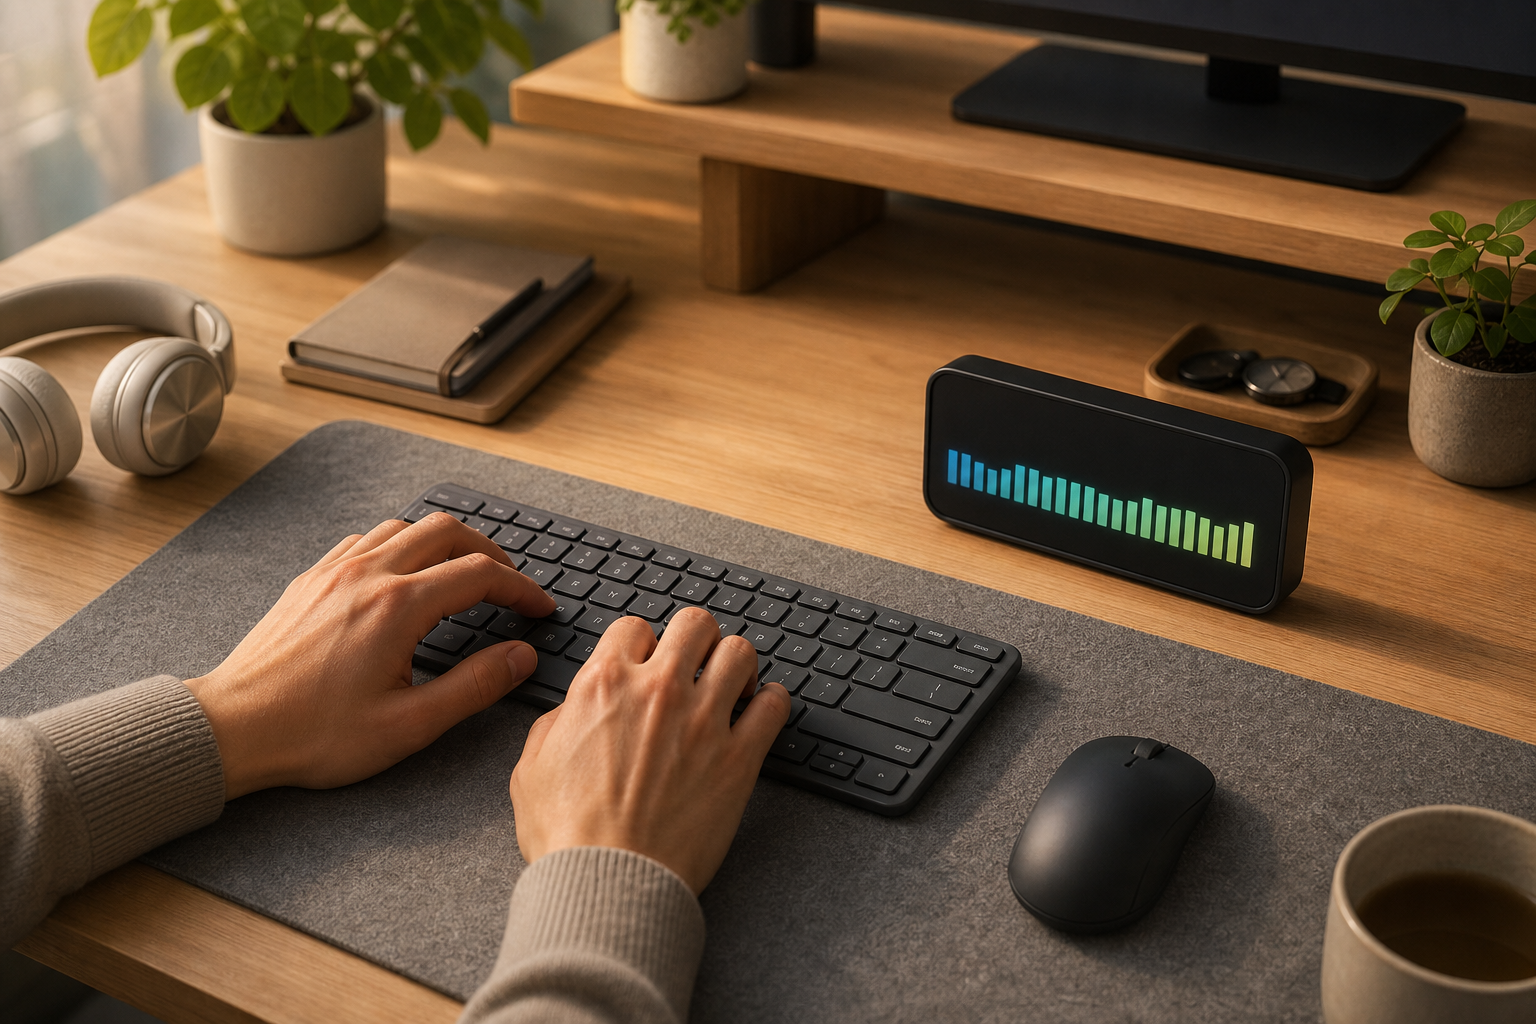
If you already track speed on TypeTest, run your normal baseline first, then compare it with the quiet typing routine below. Use type speed test keyboard setup to keep the device variables stable, mechanical keyboard typing test to compare switch feel, and keyboard typing test accessibility settings if repeat delay or accidental repeats affect the result.
# What quiet typing actually changes
Quiet typing reduces the sound your keyboard makes when fingers, switches, stabilizers, keycaps, case, and desk all transmit impact. The loudest part is often not the switch itself. It is the key hitting the bottom, the case vibrating against the desk, or a large key such as spacebar rattling through its stabilizer.
That matters because many people try to solve noise by buying the quietest keyboard they can find. Sometimes that works. Often, a cheaper change fixes more of the problem: a desk mat, lighter touch, better posture, stable keyboard feet, or a typing practice routine that stops you from hammering keys during speed tests.
A quiet setup should preserve three things.
- Speed, measured as WPM under the same test length.
- Accuracy, because slower errors still waste time.
- Comfort, because tense quiet typing usually turns into slower typing after a few minutes.
The goal is controlled contact. You want enough force to register each key cleanly, then no extra force after the key has already actuated. Bottoming out every key with full force is like closing every browser tab by slamming the laptop lid. It works. The method has side effects.
# Run a quiet typing baseline before changing gear
Start with a baseline so you do not mistake novelty for progress. Run two normal typing tests and two quiet typing tests with the same device, passage difficulty, and test length.
Use this 12 minute protocol.
| Step | What to do | What to record |
|---|---|---|
| 1 | Type normally for 60 seconds | WPM, accuracy, obvious noise sources |
| 2 | Rest for 60 seconds | Hand tension, desk vibration |
| 3 | Type normally again | Median normal WPM and accuracy |
| 4 | Rest and reset posture | Keyboard position and wrist angle |
| 5 | Type quietly for 60 seconds | WPM, accuracy, finger force |
| 6 | Type quietly again | Median quiet WPM and accuracy |
Your quiet score passes if WPM stays within 5 percent of normal and accuracy does not drop by more than 1 percentage point. If normal is 72 WPM, a quiet score around 68 to 72 WPM is acceptable for a first pass. If accuracy drops from 98 percent to 94 percent, you are under-pressing or tensing up.
Use the same passage type for both conditions. A punctuation-heavy passage will make quiet typing look worse if the normal run used easy lowercase text. The passage controls in typing speed test passage difficulty help keep the comparison fair.
You can add a phone sound meter if you want a rough noise check, but do not treat it as laboratory data. Phone microphones, distance, room echo, and desk material change the number. Use it to compare your own setup before and after changes, not to declare universal decibel truth.
# Fix finger force before replacing the keyboard
Most quiet typing gains come from reducing unnecessary force. You need a press that registers the key, not a tiny percussion solo on every letter.
Try this drill for three minutes.
- Place your fingers on the home row.
- Type one short sentence at half speed.
- Stop pressing as soon as each key registers.
- Keep wrists neutral and shoulders loose.
- Repeat the sentence at normal speed without adding force.
Then run a 60 second test. If WPM falls sharply, you slowed rhythm too much. If accuracy falls, you reduced force below the reliable registration point. Adjust one notch at a time.
The quiet touch should feel light, not careful. Careful typing often adds hesitation. Light typing keeps the same rhythm while removing the hard landing at the bottom of each key.
The CCOHS office ergonomics guide (opens new window) is useful here because it treats keyboard position, arm posture, and work surface setup as one system. If your keyboard sits too high, your shoulders and forearms may add force just to maintain position. Lowering the board or adjusting chair height can reduce noise before you touch any keyboard settings.
# Quiet the desk, case, and large keys
After force, check the physical noise path. A keyboard can sound much louder on a hollow desk than on a dense surface. The desk becomes the amplifier. Subtle, annoying, and very committed to the bit.
Work through this order.
| Noise source | Quick test | Practical fix |
|---|---|---|
| Desk vibration | Lift the keyboard slightly and type a few words | Add a desk mat or move to a sturdier surface |
| Case ping | Tap the case lightly near the corners | Add a mat, check feet, or use a heavier board |
| Spacebar rattle | Press spacebar slowly on left, center, and right | Clean around the key, inspect stabilizer movement |
| Keycap slap | Type at half force and compare sound | Practice lighter bottom-out control |
| Laptop deck noise | Type on a folded towel beside the laptop for comparison | Use an external keyboard when quiet matters |
Start with the desk mat because it is reversible and cheap. It also stabilizes the keyboard, which helps accuracy. If the board slides, your hands compensate with extra force. Extra force means extra sound.
Large keys deserve special attention. Spacebar, backspace, shift, and enter often create more noise than letter keys because they use stabilizers. If one large key rattles, a quiet switch swap will not fix the main sound. Clean dust and crumbs first. If you use a mechanical board and know what you are doing, stabilizer tuning can help, but it is not required for the average typist.
# Choose keyboard settings that do not create repeat noise
Some noise comes from accidental repeats and correction bursts. A key repeats too soon, you backspace hard, then the correction sequence makes more sound than the original typo.
Check these settings.
| Setting | Quiet typing risk | Better starting point |
|---|---|---|
| Key repeat delay | Repeats fire while you pause on a key | Slightly longer delay |
| Repeat rate | Backspace and letters repeat too fast | Moderate repeat rate |
| Sticky keys | Modifier behavior surprises you | Use only if it supports your workflow |
| Slow keys | Missed letters from short presses | Avoid unless needed for accessibility |
| Autocorrect | Hides errors during measurement | Off for baseline tests |
Apple documents Mac keyboard repeat and delay settings (opens new window), while Microsoft explains Windows input accessibility options (opens new window). Use those controls carefully. A setting that reduces accidental repeats can make typing quieter because it reduces frantic corrections. A setting that delays input too much can make you press harder, which solves nothing with extra steps.
If you change a setting, run the baseline again. Do not change switch, mat, posture, and repeat delay in the same session. That creates a mystery soup. You will know something changed, and little else.
# Pick hardware for quiet typing only after the audit
Hardware matters, but it should come after the audit. Otherwise you risk buying a quiet keyboard that still sounds loud because the desk vibrates or your typing force stays high.
Use this buying filter.
| Need | Look for | Avoid |
|---|---|---|
| Quiet office typing | Low-profile or silent switches, stable case | Clicky switches in shared rooms |
| Laptop replacement | External board with soft feet and normal spacing | Tiny layouts that raise error rate |
| Mechanical feel | Silent linear or silent tactile switches | Loud stabilizers and thin hollow cases |
| Shared home setup | Desk mat, heavier case, moderate key travel | Loose boards on glass or hollow desks |
| Speed practice | Familiar layout, reliable keys | Novel layouts during baseline weeks |
The quietest board for one person may be a poor speed board for another. If your layout, spacing, or key weight changes too much, WPM can drop while your hands learn the new feel. Treat the first week as adaptation, not final judgment.
For mechanical keyboards, switch labels can mislead. Silent switches reduce part of the sound, but case design, keycaps, stabilizers, and typing force still matter. For laptop keyboards, you have fewer hardware options, so the desk surface and finger force matter more.
The UK Health and Safety Executive noise guidance (opens new window) gives broader context on workplace noise exposure, although normal keyboard sound is usually a comfort and shared-space issue rather than a hearing hazard. For typing, the practical question is simpler: can you reduce sharp, repetitive impact enough that the keyboard no longer distracts you or nearby people?
# A 7 day quiet typing practice plan
Use this plan when quiet typing drops your score or makes your hands tense.
Day 1: Baseline. Run the normal versus quiet test. Record WPM, accuracy, and the loudest key.
Day 2: Force control. Practice three 60 second runs at 90 percent of normal speed. Keep accuracy above 97 percent.
Day 3: Desk audit. Add or remove a desk mat. Compare sound and WPM with the same passage type.
Day 4: Large key check. Type a passage with many spaces, shifts, and punctuation. Note whether spacebar or backspace dominates the sound.
Day 5: Repeat settings. Adjust repeat delay only if accidental repeats or backspace bursts appear in your notes.
Day 6: Real task test. Type an email, study note, or code comment quietly for five minutes. Speed tests are useful, but real text exposes habits.
Day 7: Retest. Repeat Day 1. Keep the change if quiet WPM stays within 5 percent of normal and comfort feels better.
Do not chase silence at the expense of clean movement. If quiet typing makes your wrists rigid or your shoulders creep upward, reset posture and accept a little more sound. Quiet plus tense is just a slower way to annoy your forearms.
# Quiet typing checklist
Before you buy anything, check the basics.
- The keyboard does not slide during a test.
- Your chair and desk height let your shoulders stay relaxed.
- You can type quietly within 5 percent of normal WPM.
- Accuracy stays within 1 percentage point of your normal score.
- The spacebar and backspace do not dominate the sound.
- Key repeat settings do not cause accidental correction bursts.
- You changed only one variable before retesting.
- The setup still works for real writing, not only a short test.
If three or more items fail, fix setup and force before hardware. If the checklist passes and the keyboard still bothers people nearby, then a quieter board, mat, or switch choice has a clear job.
# Conclusion: type quietly by removing wasted impact
The best way to learn how to type quietly is to measure normal typing, reduce wasted force, dampen the desk path, and retest speed under the same conditions. Keep changes small. Finger force, mat stability, large key rattle, and repeat settings usually explain more than the keyboard spec sheet.
Run the quiet baseline on TypeTest, keep WPM within 5 percent of your normal score, and use the checklist before buying hardware. Quiet typing should feel lighter and steadier, not slower and precious. Your keyboard can have an indoor voice without turning every sentence into a hostage negotiation.